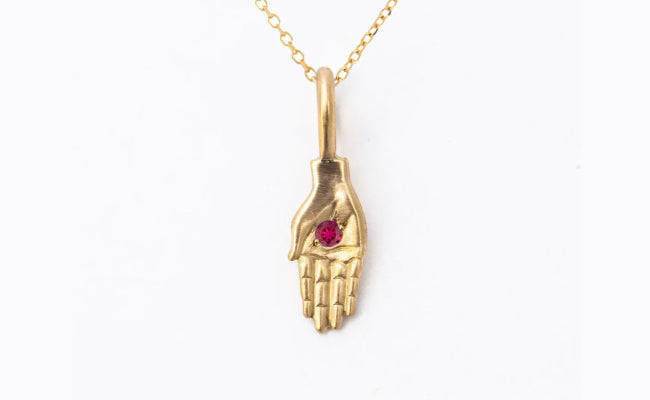

Custom Dragonfly Birthstone Pendant
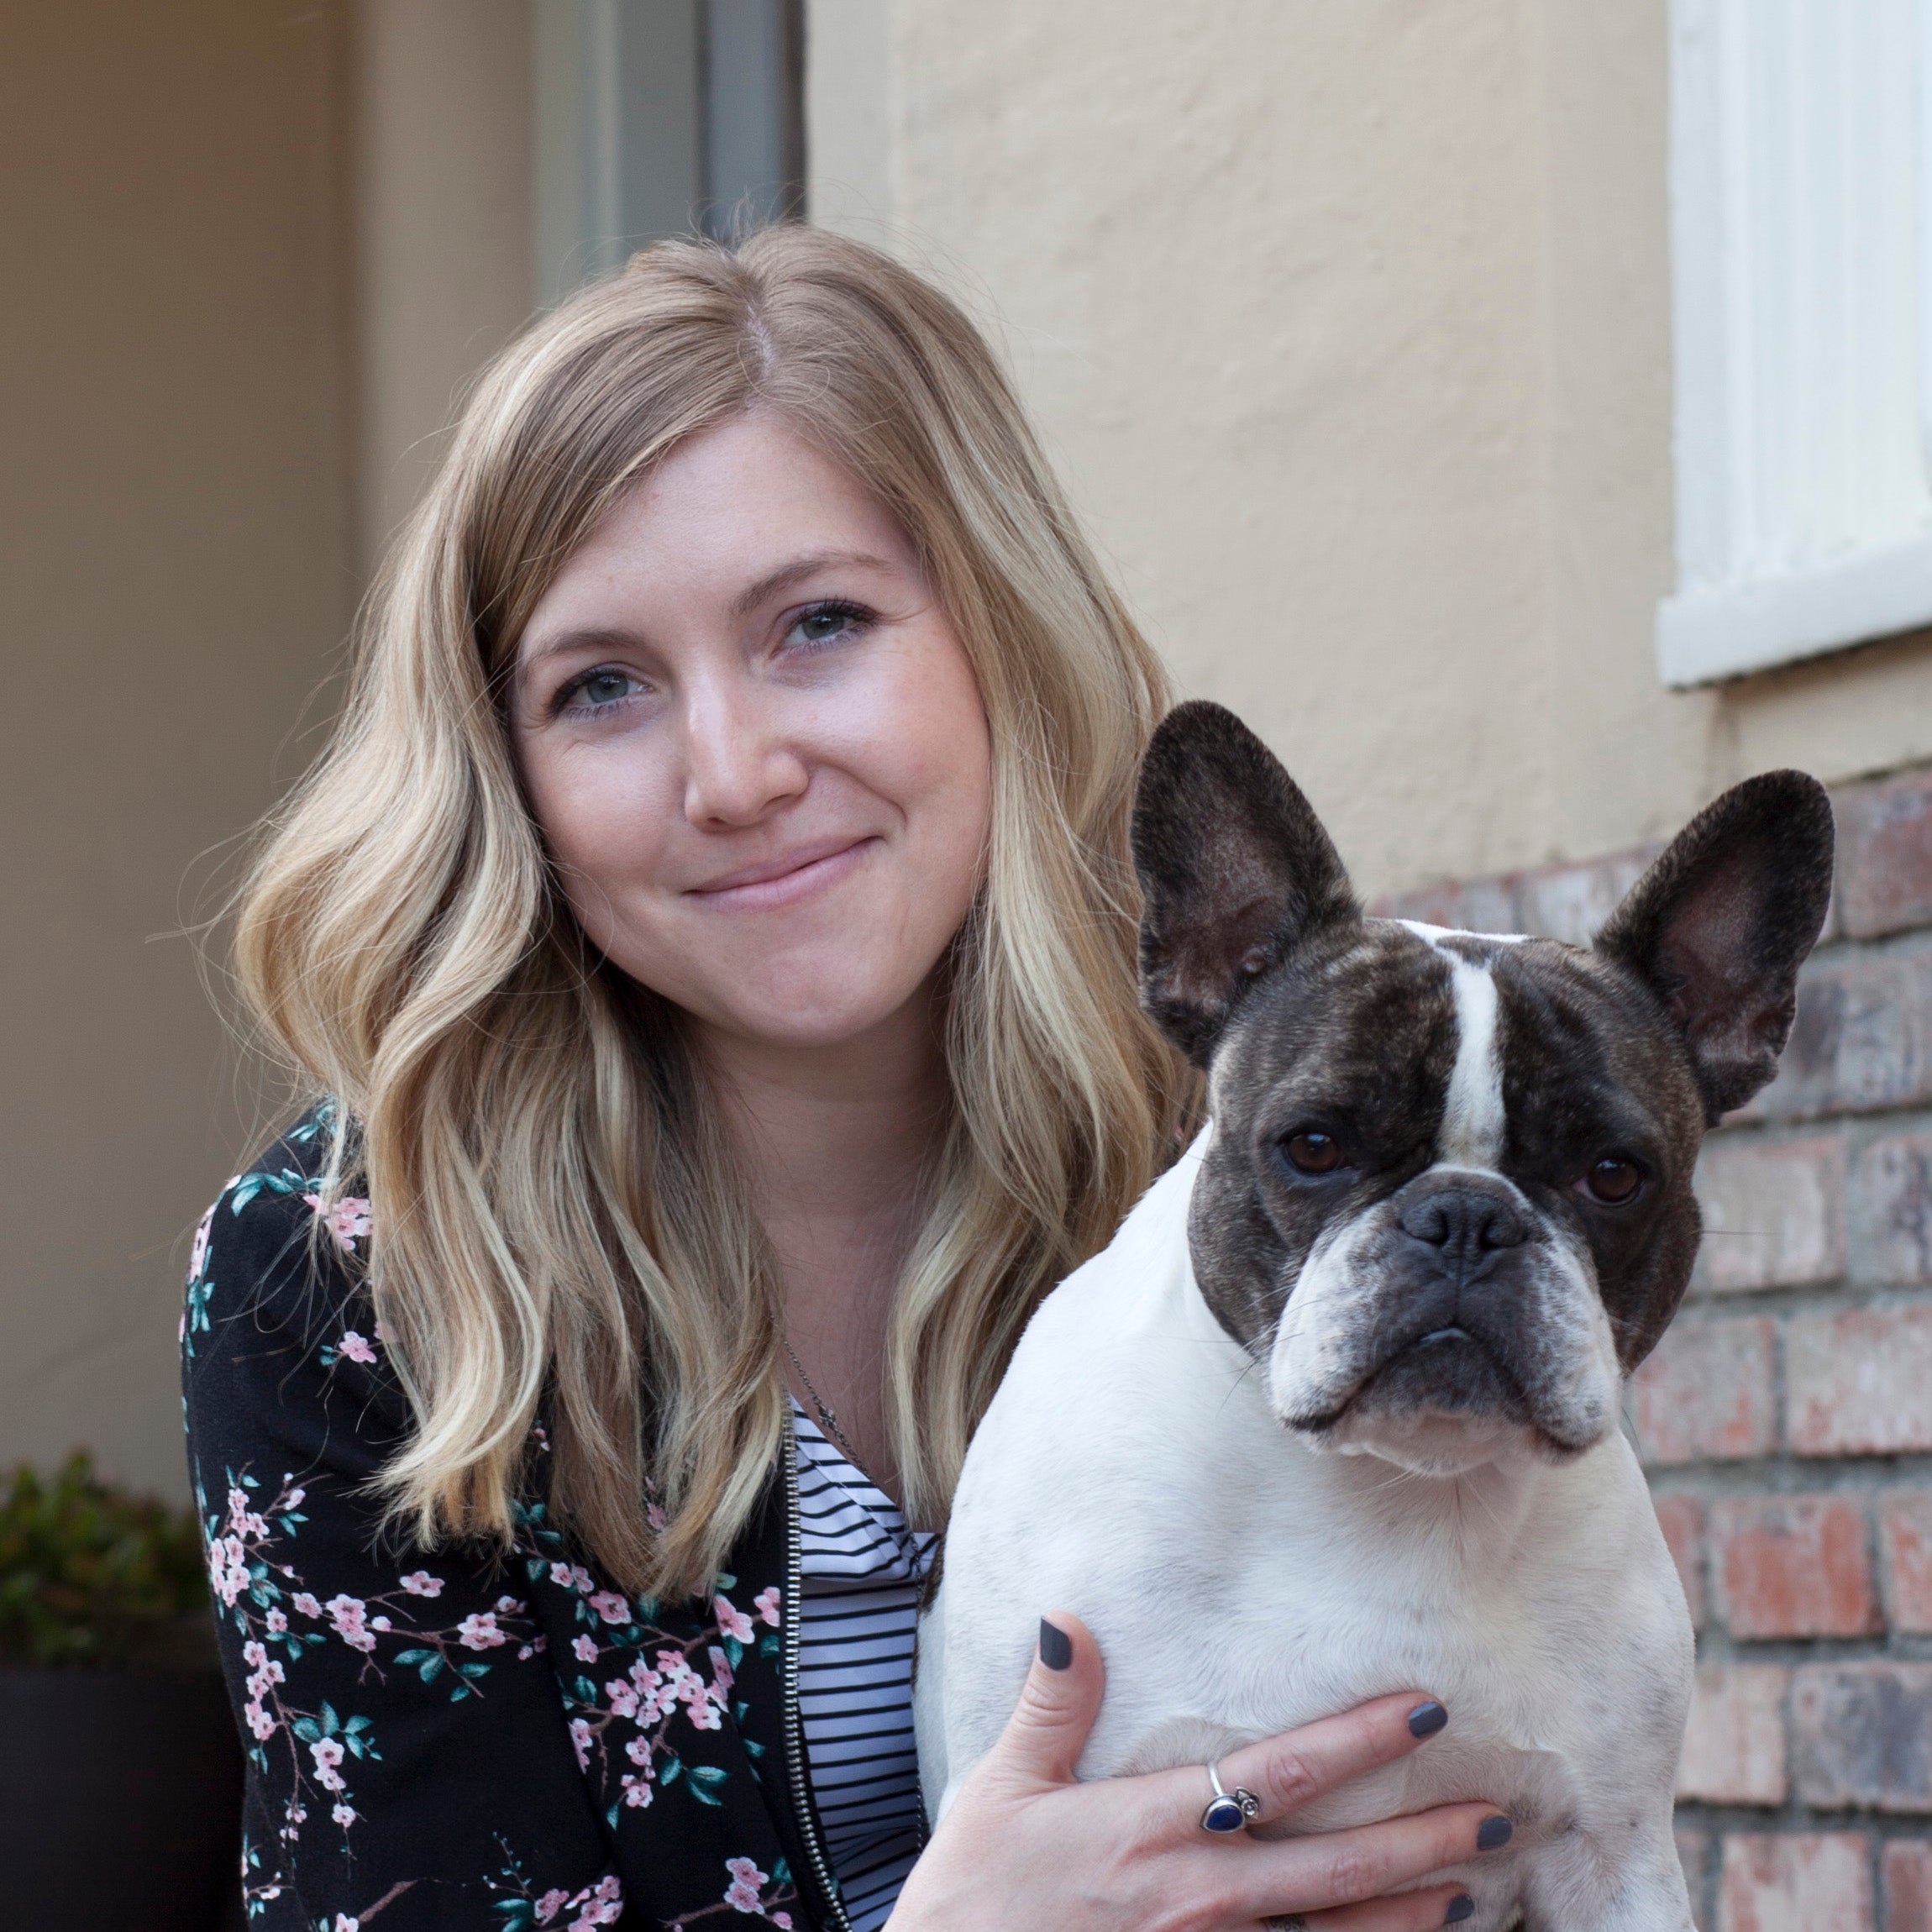
I don't always document the process of making every piece of jewelry because to be honest, it can really slow things down to stop and take a good picture at every stage of the process. I've tried to train Maddie the shop French bulldog to operate the camera but she's just too unreliable.
I knew when I started working on this custom Dragonfly pendant that it would be a fun piece to document. It incorporates so many different metalsmithing techniques that I have picked up over the years. Wax carving, fabrication, stone setting, patinas, hand engraving and the list goes on.


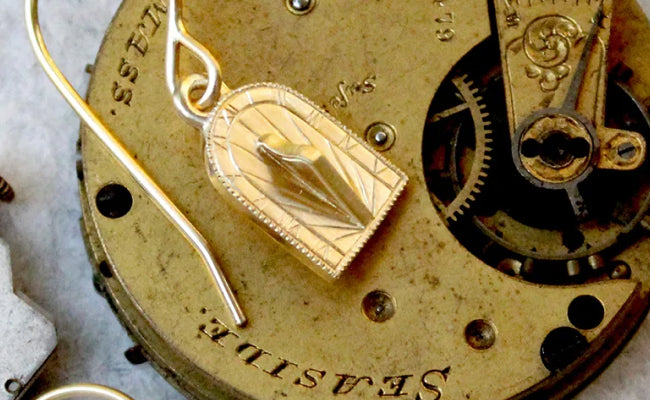
The Body of the Dragonfly was carved from blue wax and cast into Silver via lost wax casting. The wings had to be thin and delicate so it made sense to make them out of a sheet of Sterling Silver. The design was mapped out on the silver sheet and then engraved by hand. The engraving tool is a very sharp, steel tool that removes and carves out metal as it passes along the surface. Usually it takes several passes through the same line, to make it deep enough for the design to be prominent.
Transfer paper or computer printouts can be used to get the design on to the metal with rubber cement or glue stick, but in this case I chose to free-hand draw the design on with a pencil.


 An engraving vice is used to hold the piece to allow you to put a lot of pressure on the tool while still being able to turn and swivel the piece to create fluid lines with the graver. I move the vice with my left hand and simultaneously do the engraving with my right hand. (The vice also helps to prevent stabbing your other hand with the tool if it slips! Because lets face it, these things happen and OMG does it hurt.)
I kept the curls of metal there so that you could see the physical metal that was removed from the surface. 


Holes are drilled within each space that will need to be cut out. I used a jewelers saw frame and disconnected one side of the saw blade, inserted it through the drill hole, re-connected it to the saw frame and then began cutting out that negative space. This is repeated for each shape.
An Arizona Peridot (Birthstone of August) and two diamonds (for the eyes of course!) were added and "Flush Set" into the body of the dragonfly. Oops I don't have any pictures of this, but you can see that holes are drilled and openings are made in the silver that are the exact diameter of the gemstones. The stone is then inserted and the metal is then enclosed over each stone with a burnishing tool.

The body and wings are then soldered together with a high heat torch. I almost didn't add the antennae because it looked good as is, but looking at it now, that antennae detail adds SO much character and life! I drilled two small holes into the head (that sounds bad) and inserted silver wire, soldered them in place, trimmed them and then curved them with rounds pliers.


A Patina is applied to darken the entire dragonfly and then when polished, the darkened areas only remain in the recessed areas such as the engraving in the wings, and separations of the body. You can really see how adding the Patina transforms the whole look of the piece!
Thanks for reading and please leave a comment if you have suggestions for future Jewelry Blog Content!
Written by Melissa Scoppa


2 comments
I would like to know:
How long it takes to receive the dragonfly necklace after you order it?
How to order?
How much is the necklace with an August birthstone?
Lynn
I am interested in your dragonfly necklace.
Barb Witmer
Leave a comment
This site is protected by hCaptcha and the hCaptcha Privacy Policy and Terms of Service apply.